Standard arrows
A standard arrow occupies one cell and exits in the direction of its arrowhead. It is the basic piece, but it can still control a long row or column by blocking everything behind it.
When a standard arrow leaves, its square becomes empty immediately. That opening may release more than one arrow.
Snake arrows
A snake arrow bends across several connected cells. Treat the whole body as occupied until the snake can leave. Its head determines the exit direction, while every body cell can block another route.
Check the head route first, then look at what the body will uncover after it leaves. Snake moves can change several rows and columns at once.
- Do not tap based on an exposed body segment.
- Use the head as the source of direction.
- Recheck every line previously crossed by the body.
Heavy arrows
A heavy arrow needs more space and planning than a standard piece. Its visual weight marks it as a special blocker, so inspect the full route instead of assuming an adjacent empty cell is enough.
Heavy pieces often sit near the middle of a dependency chain. Clearing them can open a wide part of the board.
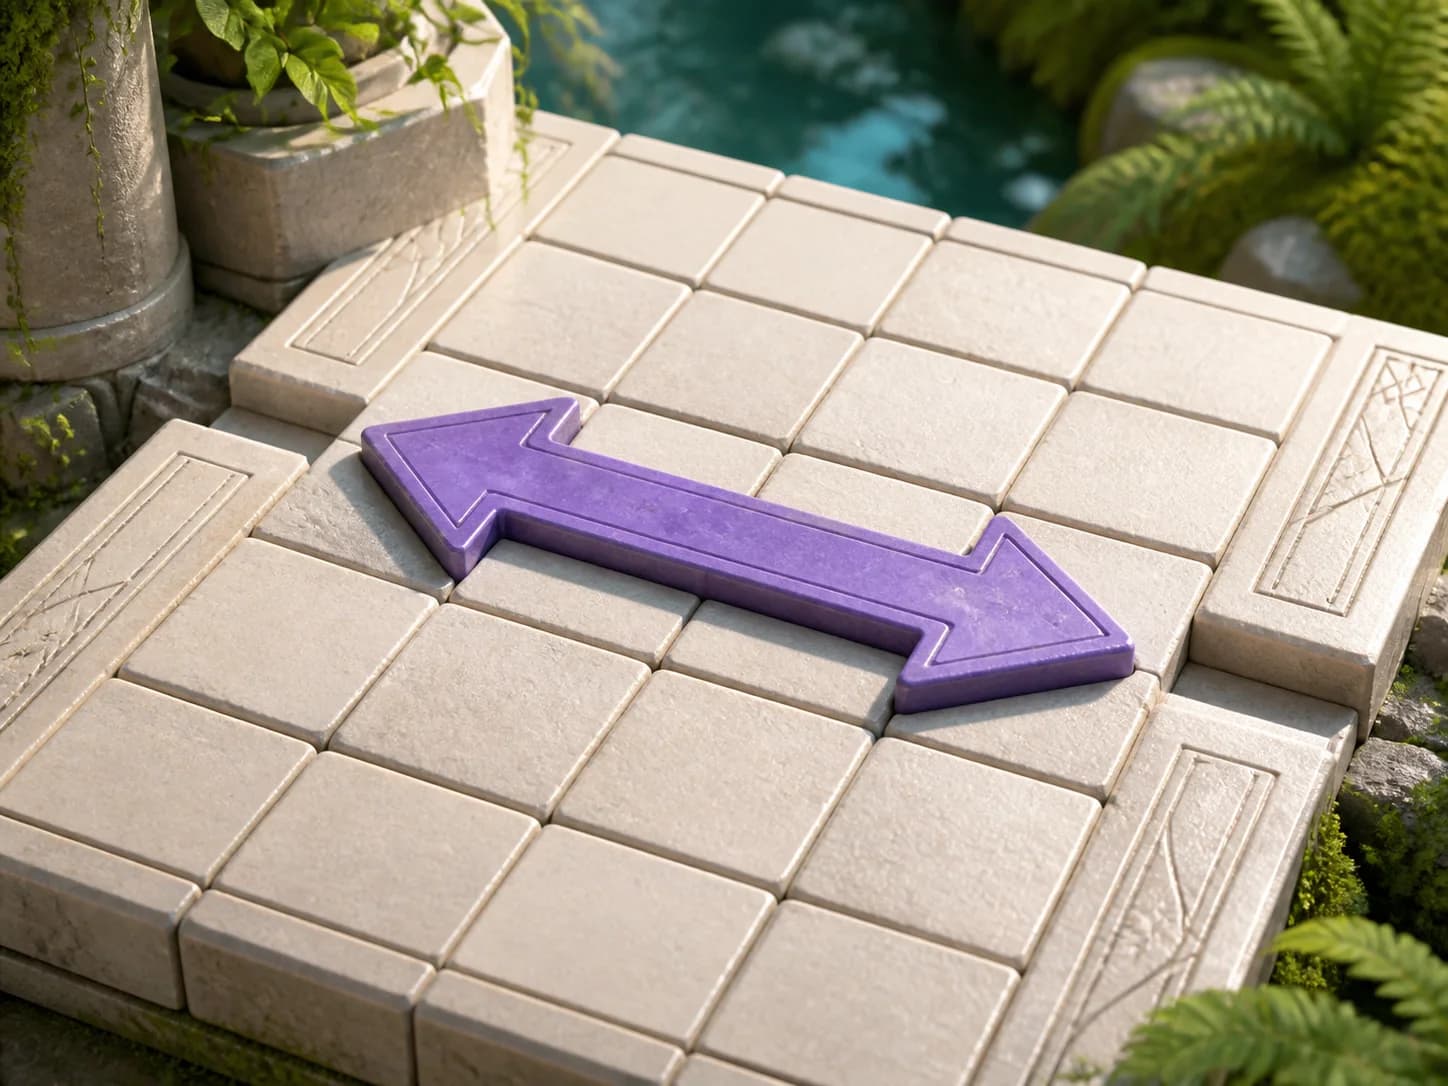
Bi-directional arrows
A bi-directional arrow can use either marked direction when that route is clear. Compare both sides before choosing. One exit may be open now while the other creates a better follow-up position.
If both routes are blocked, identify the nearer blocker on each side and work backward from those pieces.
Walls
Walls never move. They divide the board into lanes and stop arrows from passing through. A wall can make an arrow that looks close to the edge completely dependent on another route.
Read each wall as a permanent boundary. Planning around it early prevents wasted taps later.